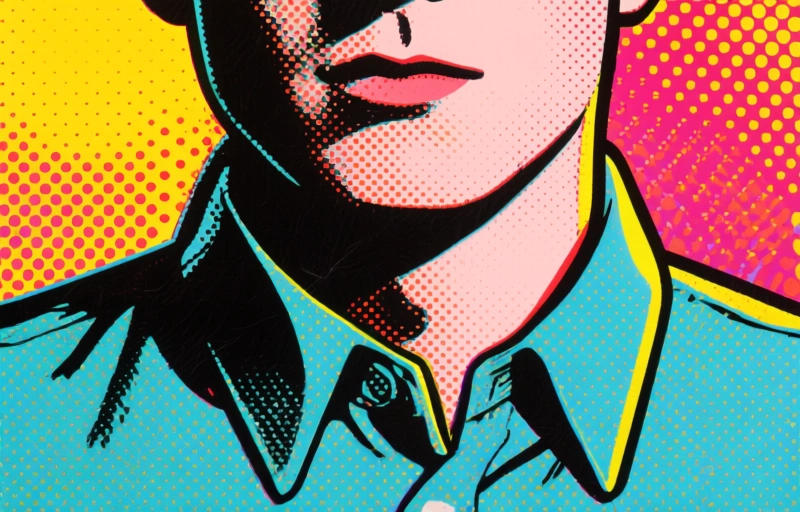
Fix 3D Head Clipping Through Collars: A Simple Workflow
Felix Braun ·
Listen to this article~5 min
Stop 3D character heads from clipping through collars with movement. Learn a simple, effective workflow involving collision setup and weight painting to solve this common rigging and animation headache for good.
Hey there. If you've been working in 3D character rigging or animation, you know the pain. You've spent hours perfecting a model, only to see the head clip straight through the collar the moment you add any movement. It breaks the immersion instantly, pulling your audience right out of the experience.
It's one of those small details that screams "unfinished." But here's the thing—fixing it doesn't have to be a nightmare. There's a straightforward approach that can save you a ton of headache down the line. Let's walk through it together, step by step.
### Understanding Why Clipping Happens
First, we need to understand the enemy. Clipping usually occurs because of two main reasons. The collision volumes—or lack thereof—aren't set up correctly between the head/neck and the clothing mesh. Or, the skinning weights on the neck and collar vertices aren't playing nice with each other during deformation.
Think of it like trying to fit two physical objects into the same space. They can't occupy it simultaneously without one giving way. In our 3D world, without proper boundaries defined, the software just lets them intersect. That's our clipping.
### The Core Strategy: Collision and Weighting
The trick isn't about one magical button. It's about a two-pronged strategy. You need to manage both collision geometry and the influence of your bones. Start by creating a simple, low-poly collision shape around the neck area of your character's body. This acts as an invisible barrier.
Then, you dive into the weight painting. This is where the real finesse comes in. You need to ensure the vertices of the collar are not influenced by the neck or head bones in a way that pulls them inward. It's a balancing act.
- **Create a dedicated collision capsule** for the neck in your rigging software.
- **Adjust the collar's weight painting** to be influenced primarily by the chest/spine bones, not the neck.
- **Use a slight offset** or driver to have the collar mesh expand slightly when the head rotates or tilts.
- **Test constantly** with extreme poses during the rigging phase, not after animation.
### Implementing the Practical Fix
Here’s where we get our hands dirty. In most major 3D suites, you can add a collision object to your rig. Parent a simple capsule or cylinder to the neck or upper spine bone. Then, in your cloth simulation or mesh deformation settings for the collar, add this collision object to the list.
For the weighting, go into your weight paint mode. Select the collar mesh and visually reduce the influence of the neck bones to near zero for the inner rim of the collar. Strengthen the influence from the upper chest or clavicle bones instead. This makes the collar move with the torso, creating a natural gap as the head moves independently.
As one seasoned rigger put it, "The goal isn't to stop all movement, but to create a relationship where the collar and neck respect each other's space."
### Testing and Refining Your Solution
Don't just set it and forget it. The key is in the testing. Create a simple animation loop that pushes the head into its most extreme positions—looking up, down, over the shoulder. Watch how the collar reacts. You'll likely need to tweak the collision shape's size or the weight falloff.
Sometimes, you need to add a very subtle shape key or blend shape that activates with head rotation, just to give that extra millimeter of clearance. It's these micro-adjustments that sell the final effect. Remember, realism is often in the subtle avoidance of problems, not in flashy solutions.
### Why This Matters for Your Pipeline
Getting this right does more than fix a visual glitch. It builds trust in your character. When an audience isn't subconsciously noticing clipping, they're free to connect with the performance and the story. It also saves massive amounts of time in animation review and re-rendering.
Implement this check early in your character setup pipeline. Make it a standard part of your rigging checklist. It might add ten minutes to your initial setup, but it will save hours of frustration later. Your future self, and your animators, will thank you for building characters that just work.